If you are working in AI, ML, and DL and you want to take advantage of your GPU to train your machine learning models but you have been stuck at configuring TensorFlow-GPU and Cuda toolkit-10.1 then this tutorial is for you.
Tensorflow also supports other versions of the Cuda toolkit but for that, you need to build TensorFlow from source (to more about, How to build from source, click here) but building TensorFlow from source is a too complicated process, So I will recommend you, use Cuda toolkit-10.1 which easy to setup. and the latest available TensorFlow-2 support Cuda toolkit 10.1. So I will guide you in 4 easy steps, How to install TensorFlow-GPU using Anaconda with the configuration of CUDA-toolkit 10.1. This article below assume that you already have an NVidia graphic processor.
Step 1: Install Microsoft visual studio
A: Download Microsoft visual studio
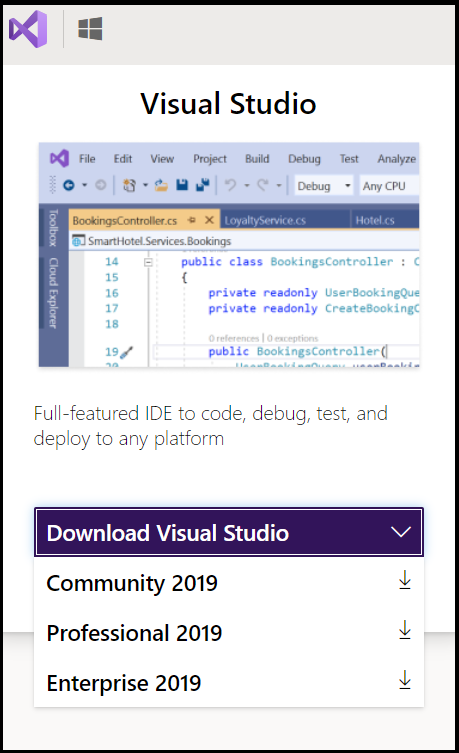
”Microsoft visual studio” is a prerequisite for the Nvidia Cuda toolkit. The most recent version of Visual Studio (which is free) is the Visual Studio Express Community Version 2019, shown in below fig. You can get previous versions of Visual Studio for free by joining Visual Studio dev Essentials and then searching for the version of Visual Studio you want. (click here to download visual studio latest-2019)
B: Installing visual studio.
Once you have downloaded visual studio further installation is easy. click on the executive file you have downloaded it will pop up windows as shown in the below image.
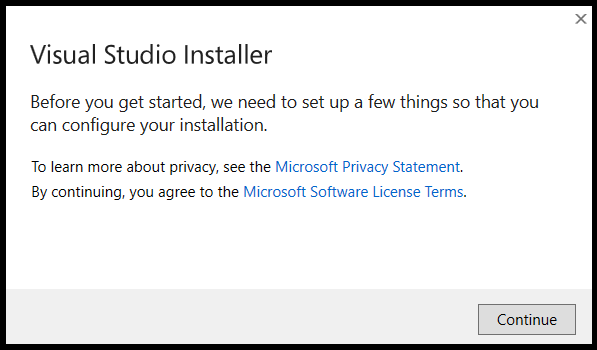
Click on the continue button. In the next it will setup up a few things, it will take less than a minute.
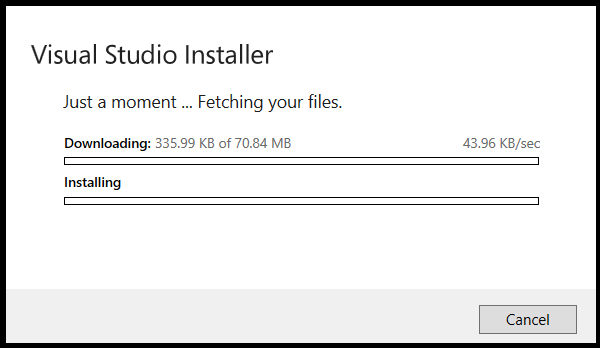
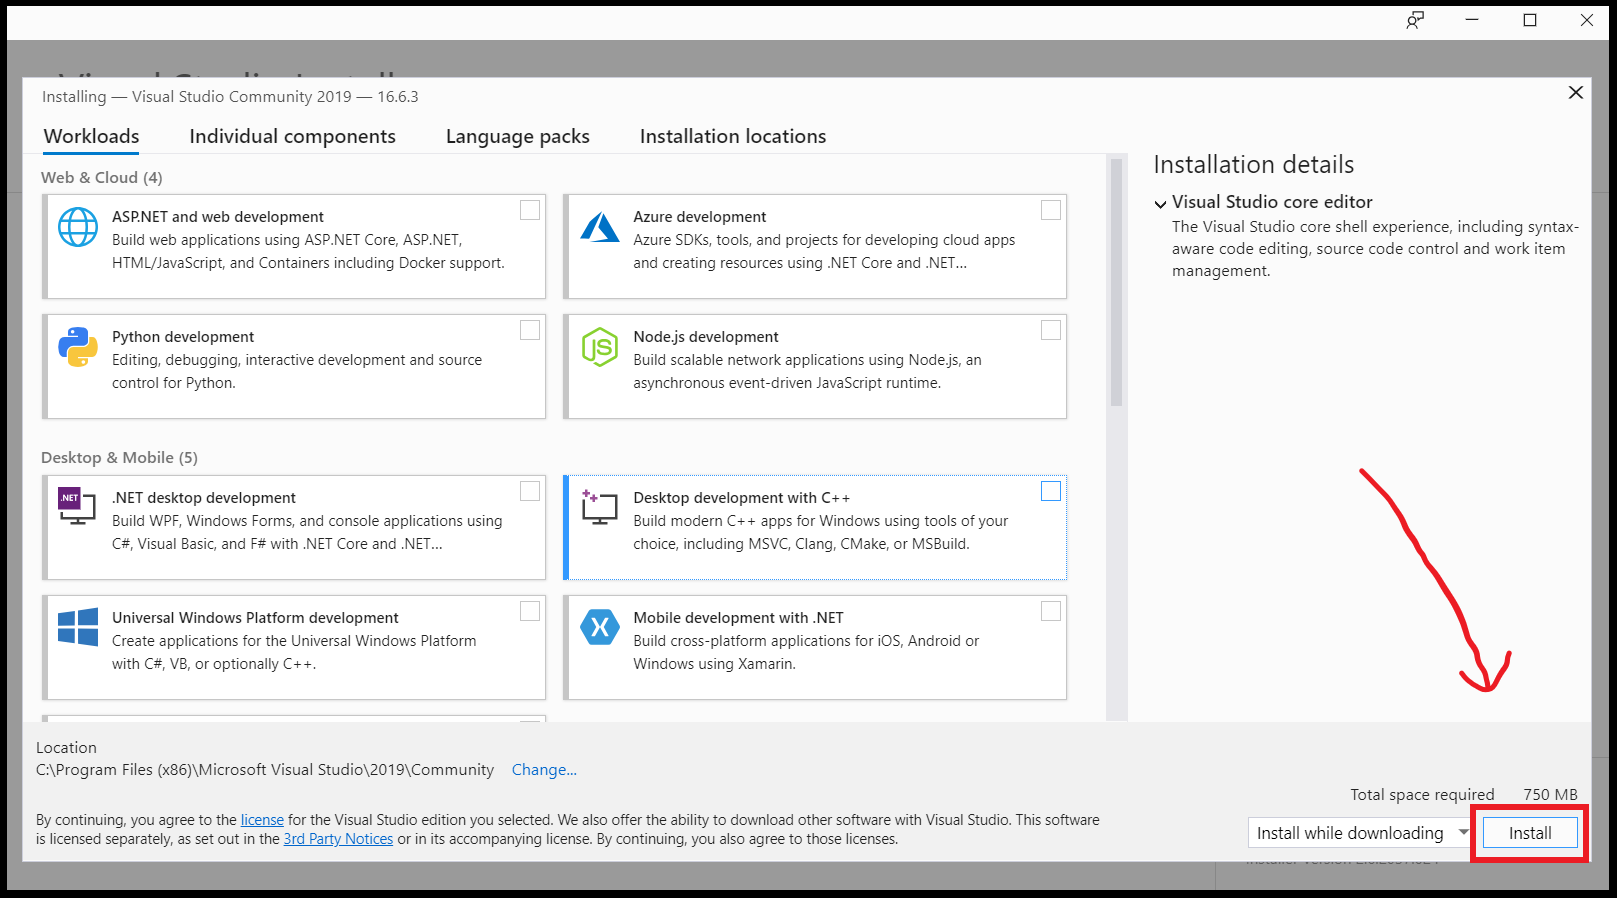
after a minute, On the next step installation windows will appear where you can set the installation option.
Click on the Install button at the right bottom corner to install visual studio core installation
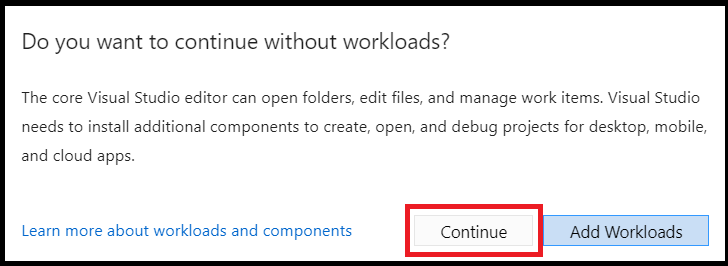
After clicking installation, Visual Studio prompts you “Do you want to continue without workloads”
If you are a beginner there is no requirement of workload so continue without workloads, So press Continue.
C: Now reboot the pc
To work the installation of the Cuda toolkit correctly you need to reboot the pc.
Step 2: Download and install Cuda-toolkit
Before installing Cuda-toolkit you need to run the following command in CMD. If it correctly returns the information about the Cuda driver, then you are ready to move to install Cuda-toolkit on windows
Just type and hit enter following commands in CMD( without $ sign).
$ nvidia-smiIt should return information of available Cuda-driver as shown in below fig.

A: Download Cuda toolkit
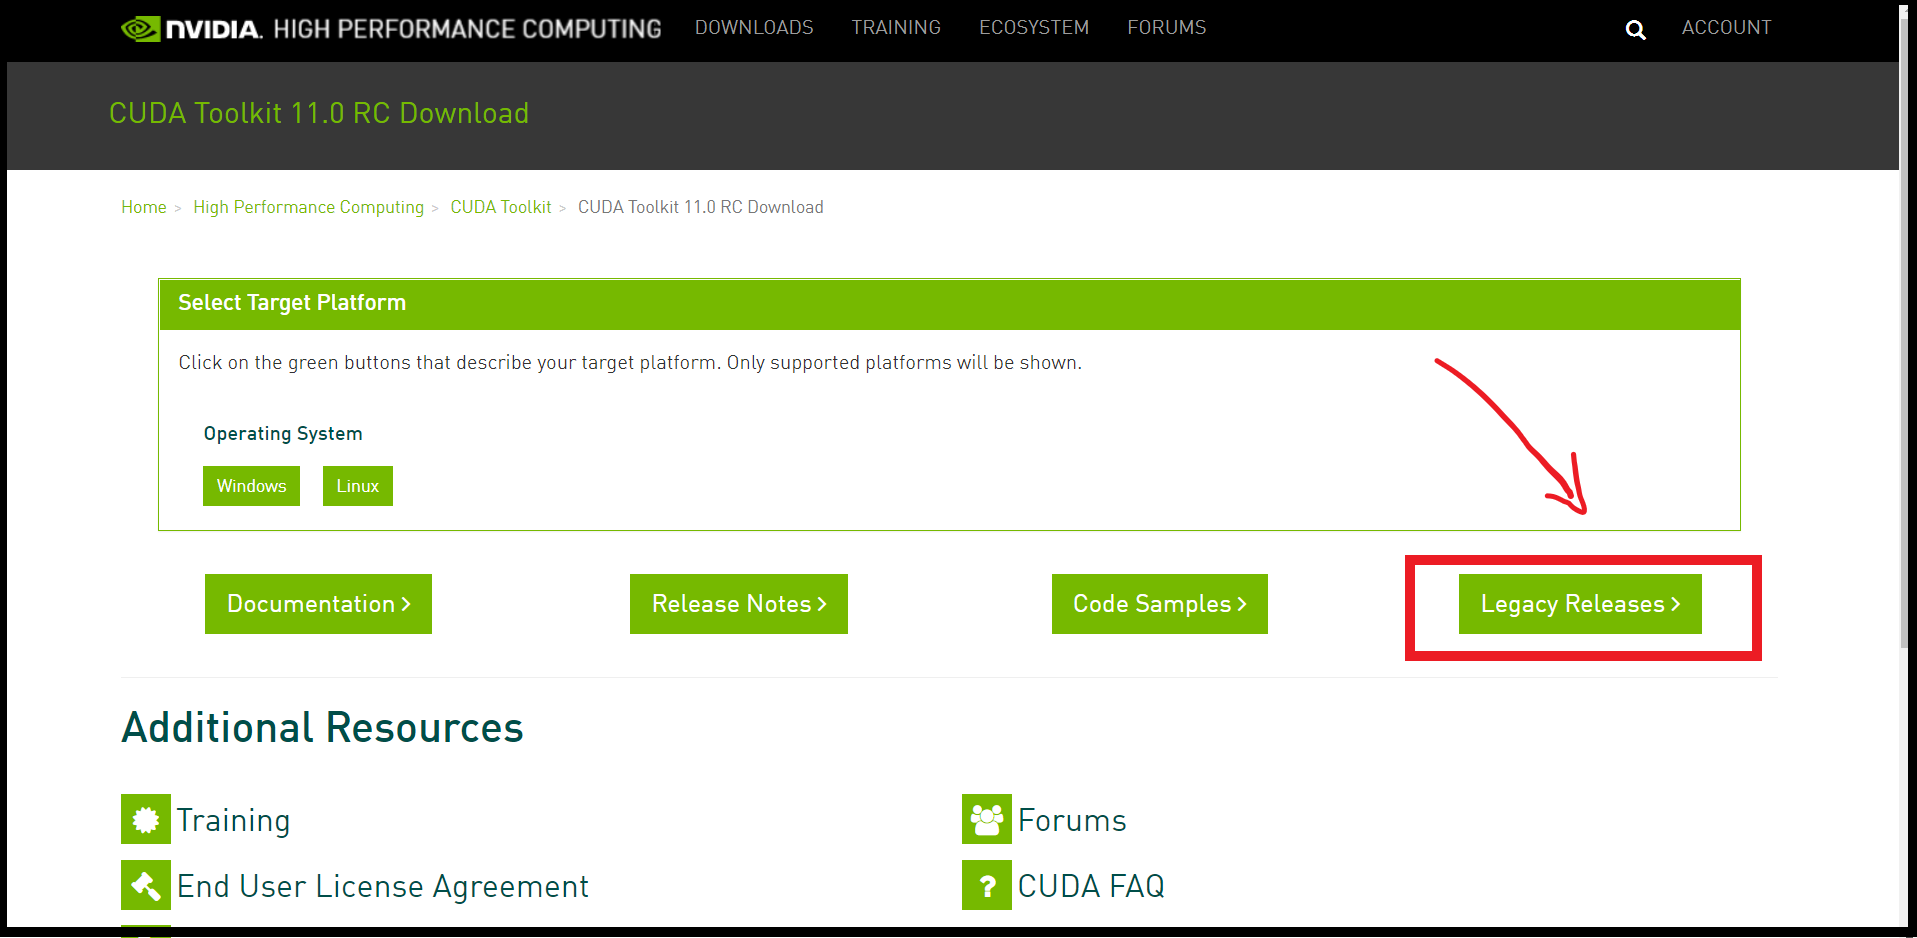
The next step is to download the Cuda toolkit, At the time of writing this blog latest available version of the Cuda toolkit is CUDA-11.0 but you need to download the Cuda toolkit 10.1 which supports TensorFlow-GPU (click here to download Cuda toolkit). On the download page, you will see the latest version of the Cuda toolkit. To get Cuda toolkit-10.1 you need to click on “legacy release” as shown below.
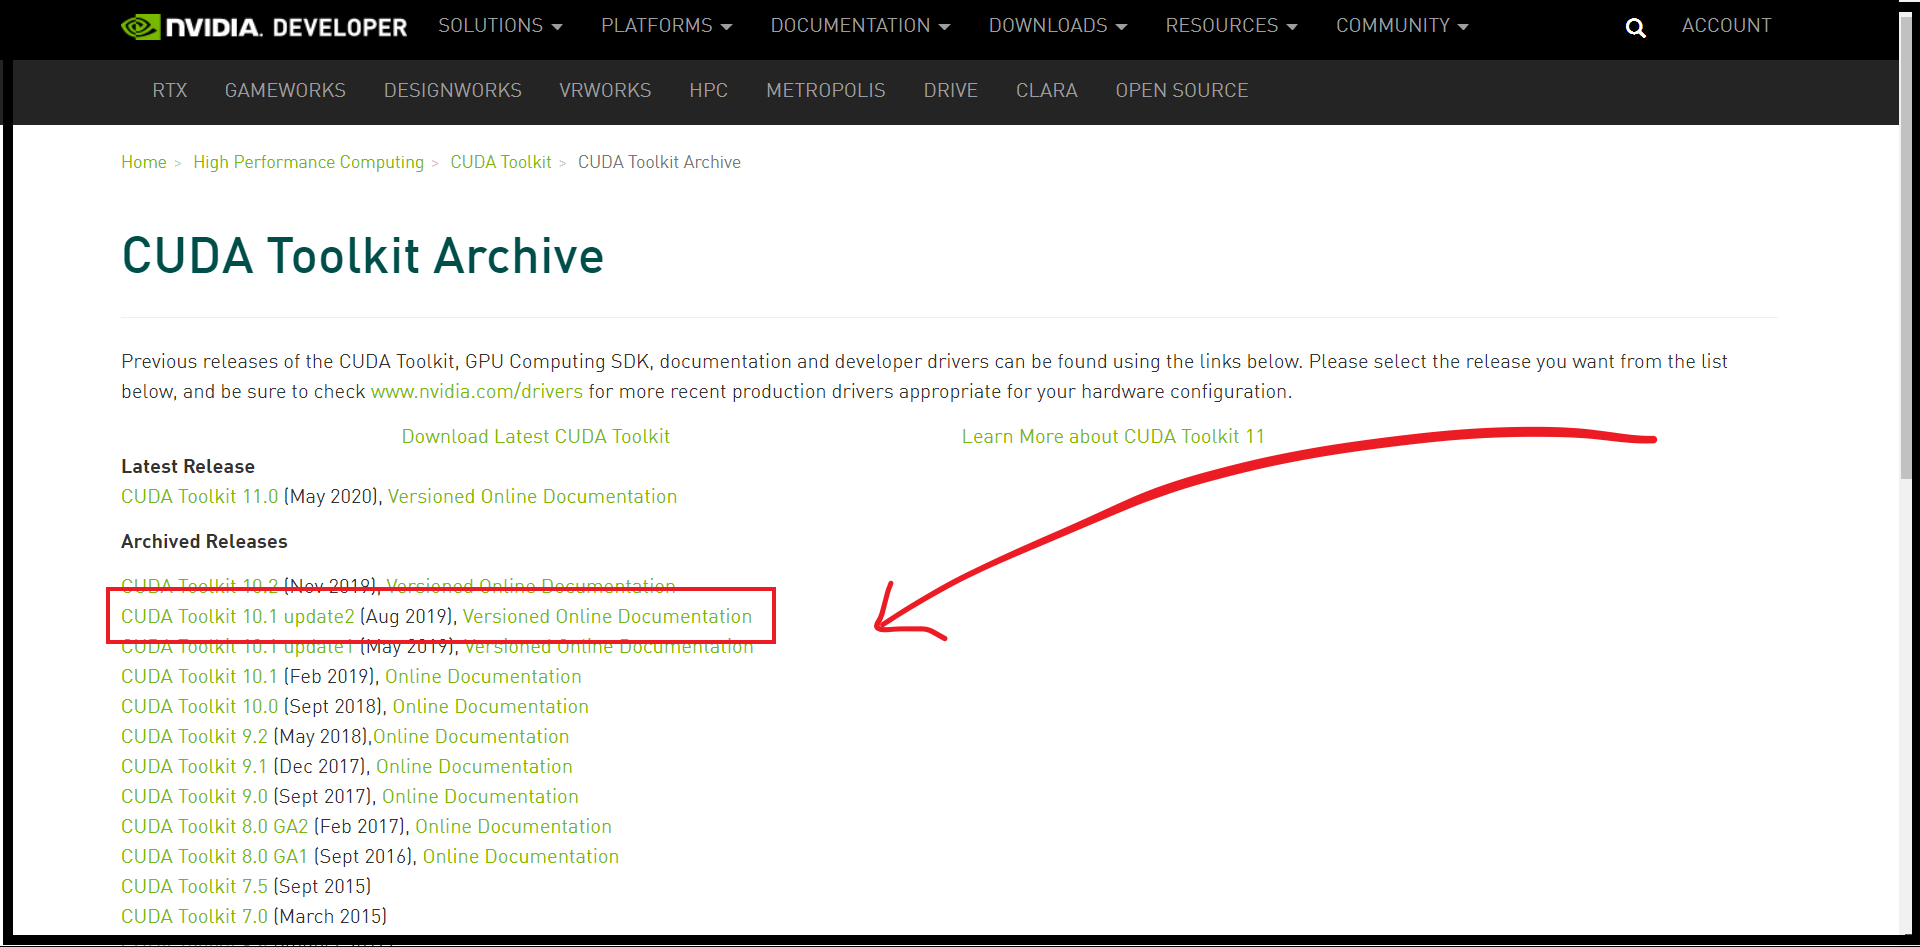
After choosing the “legacy Release” option it will navigate to the Cuda toolkit archive. As shown below, Now click on Cuda toolkit 10.1 Aug 2019,
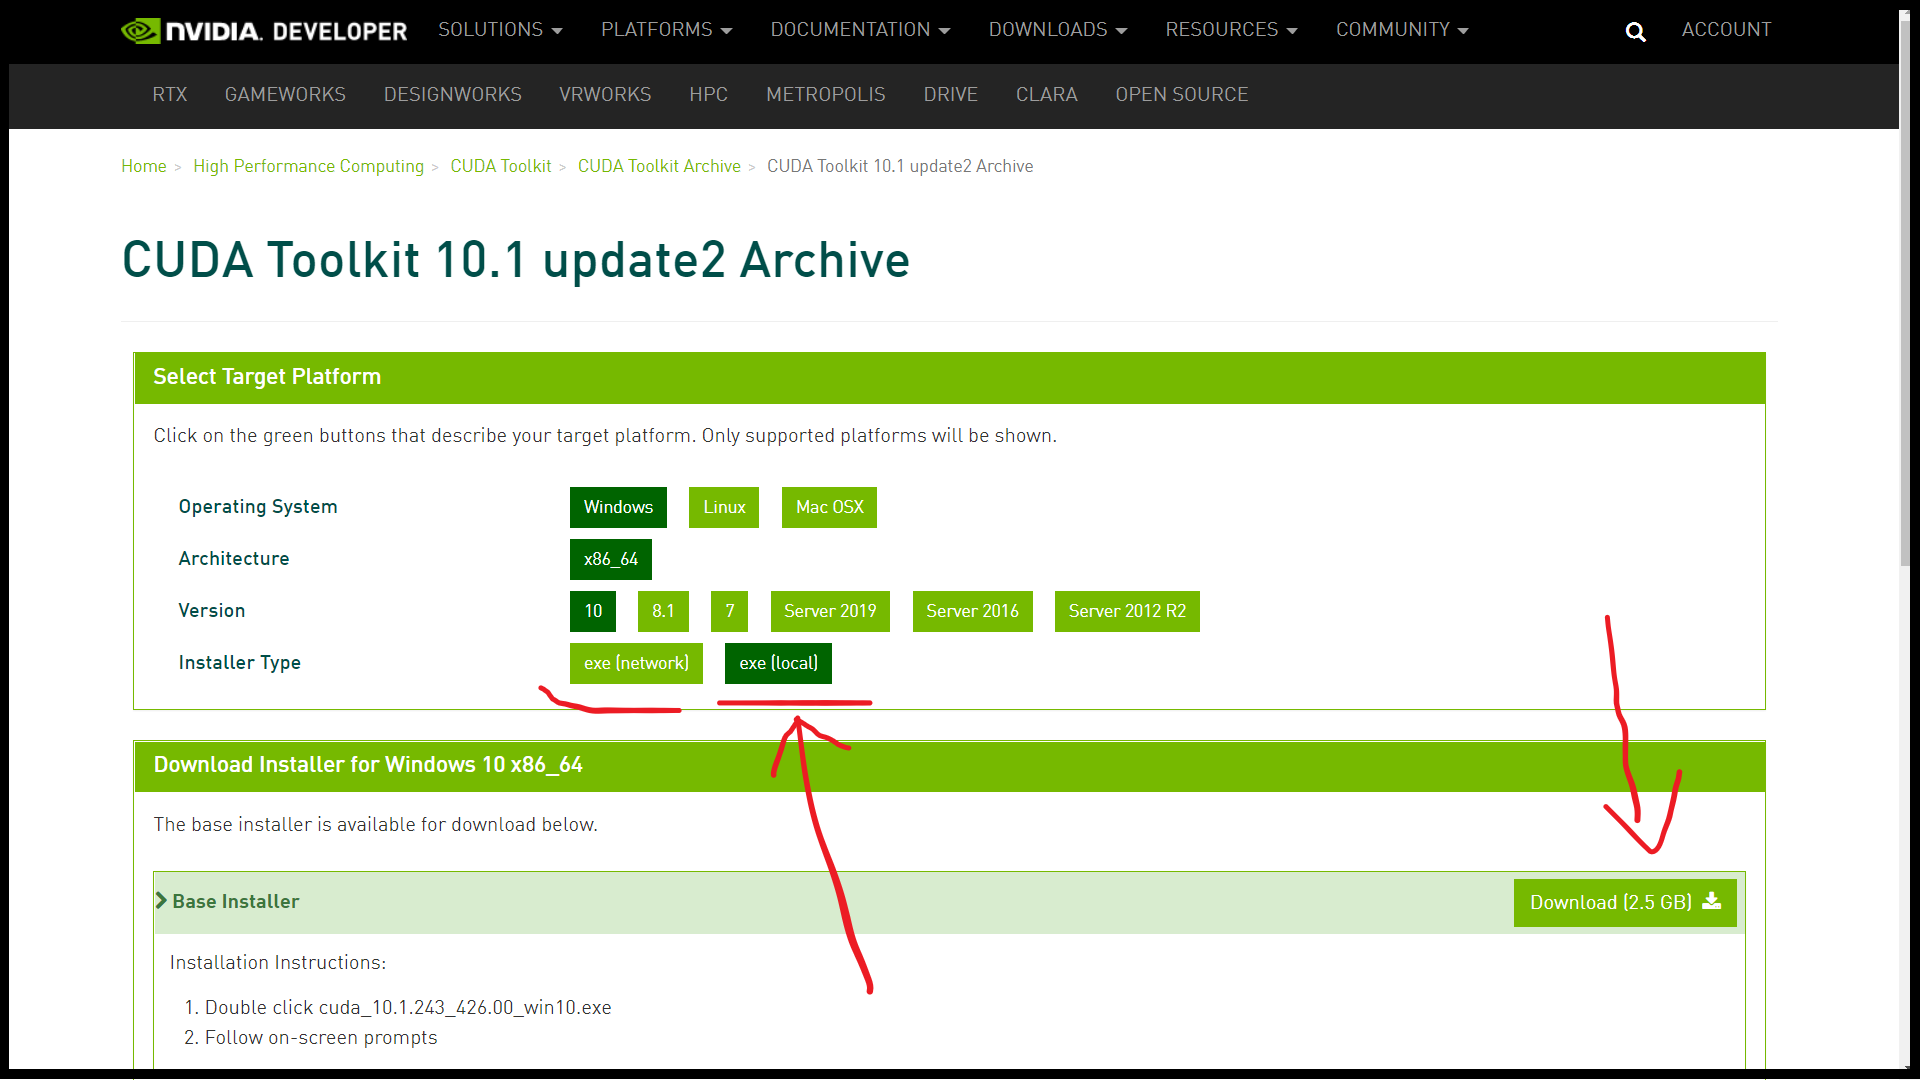
After moving to Cuda toolkit 10.1 archives it is available to install in two types:
- network exe. ( this is a small and faster installer but requires re-downloading each component at the time of installation)(19MB)
2. local exe. (this is a larger installer that contains every component of the toolkit, download once and can be installed on multiple systems) (2.5GB)
I will recommend downloading local exe for low-bandwidth internet as Nvidia-suggest!
B: Install Cuda toolkit
since I have downloaded the local exe (recommended), I will run the exe file. A new window will appear and ask for a temporary location to extract the file(at least 4GB space required). you can choose according to your storage (after installation temporary files will get deleted from that location).
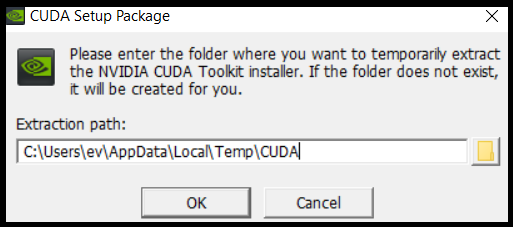
click ok to process
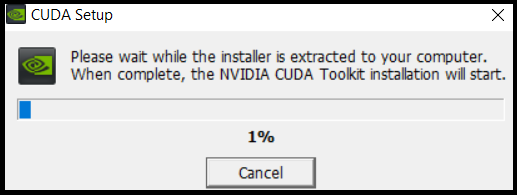
After extracting all the files, the Installtion of the Cuda toolkit will start.
Accept all terms and conditions and move to the next step. In the next step it will again offer two options for installation:
- express(all the files will be installed to the default location in C: drive)
2. Custom(where you can choose another location to install depending on your storage availability.
Nvidia recommends express installation but I will go through custom installation.
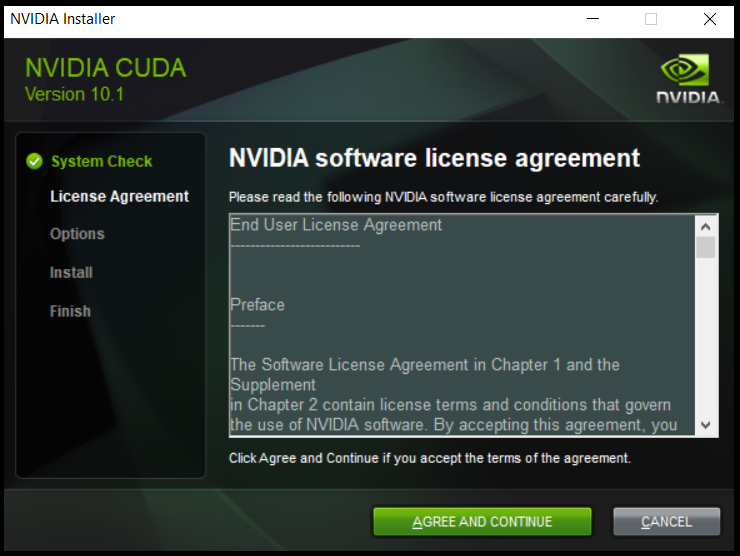
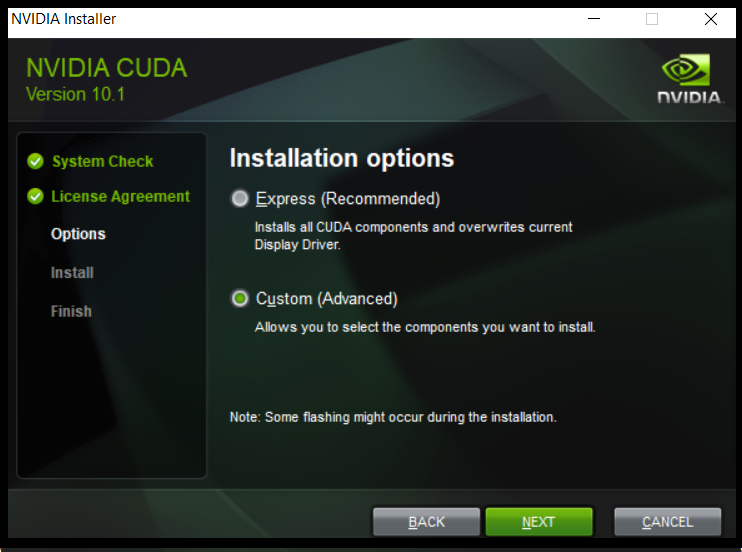
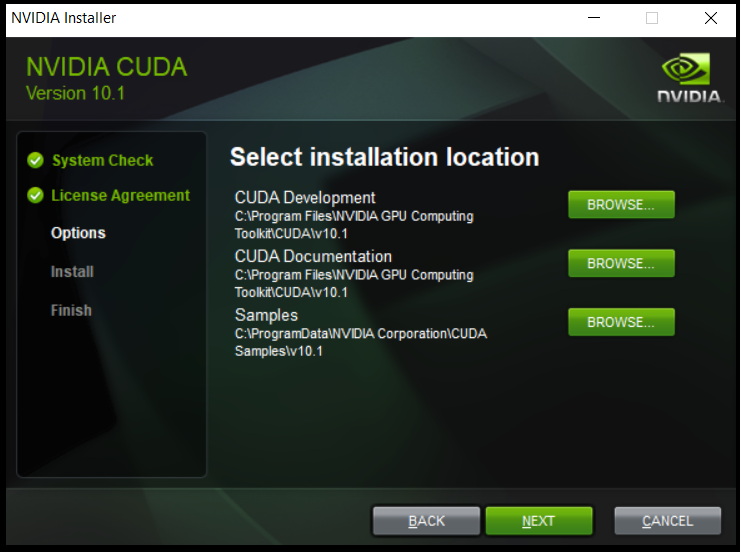
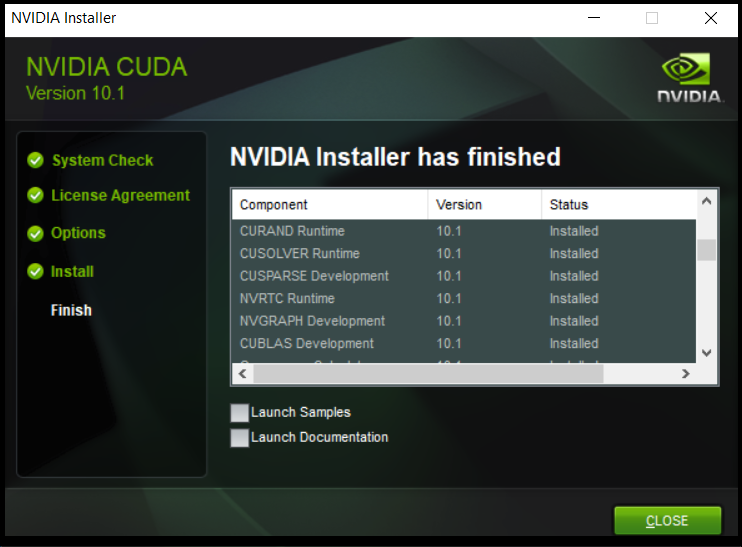
keep pressing next until it finishes the installation. After finishing the installation un-click all options at the bottom list and close the window.
Step 3: Download and Install cuDNN
A: Download cuDNN
To download cuDNN you need to join the membership of the Nvidia developer program. (click here to join and download cuDNN). If you don’t have an Nvidia account then create one and join the membership.

After joining membership, click on cuDNN7.6 and cuDNN Library for windows-10
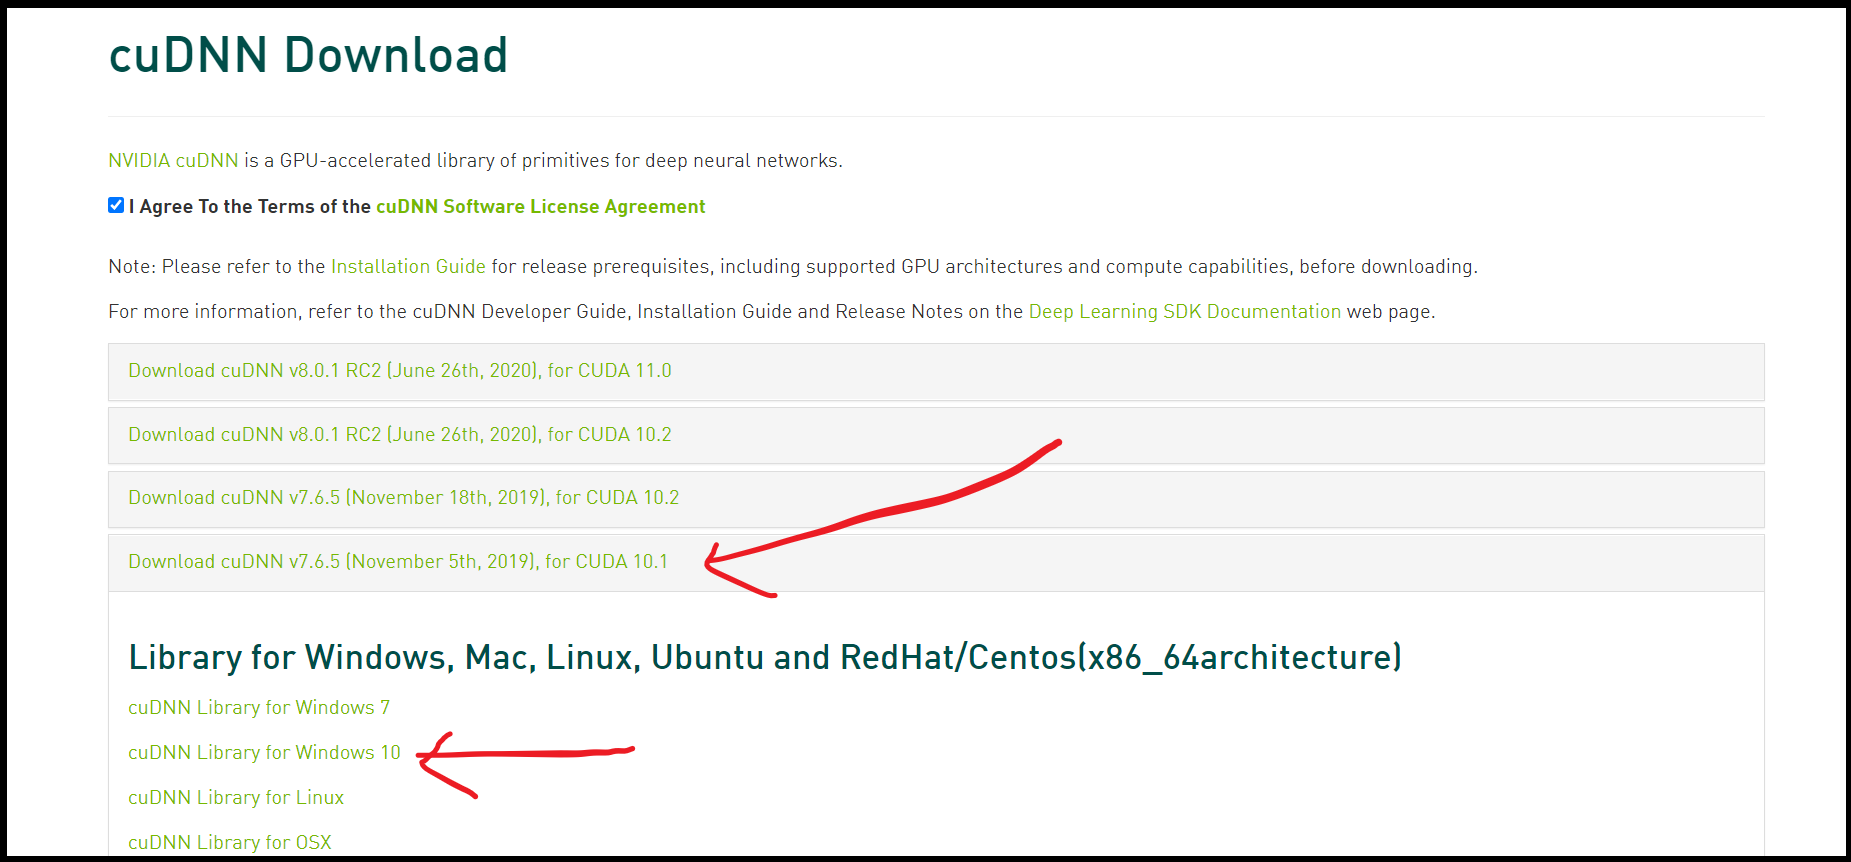
choosing the corresponding cuDNN version of your Cuda (cuDNN v7.6.5 for CUDA 10.1). It enables downloading cuDNN zip file
B: Unzip cuDNN file and set path.
unzip Cuda folder in any location in C: drive (say C:\tools)(be careful you have to set path of this folder in the environment variable
Right-click on the zip file and click on the extract here option( I’m using windows default zip manager, not WinRAR or 7zip). The new window will appear and ask for the path where to extract. Just copy the below path to your path in the same window as shown in below fig. (or you can extract it anywhere in the C: drive).
C:\tools
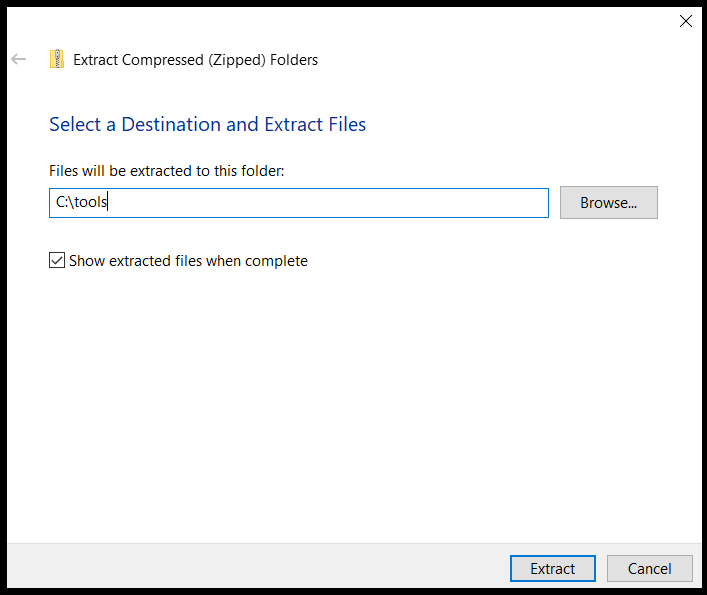
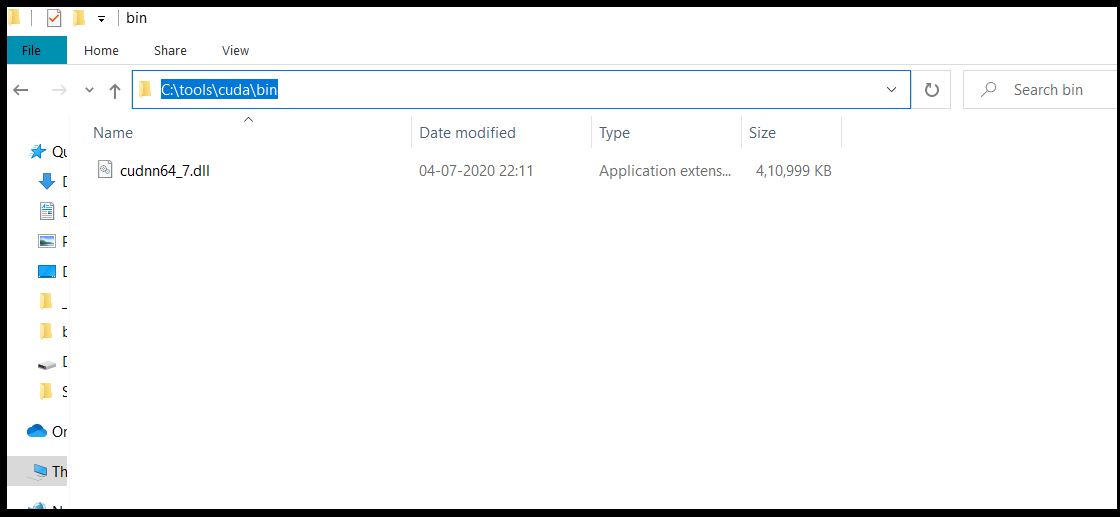
Now navigate to upzip folder in the directory C: -> tools -> cuda -> bin . (C:\tools\cuda\bin)
Copy the path to this folder (C:\tools\cuda\bin) and set the path to an environment variable. ( as shown below fig)
In Windows 10, the Environment Variables can be found by choosing: Control Panel ->System and Security->System->Advanced System settings.
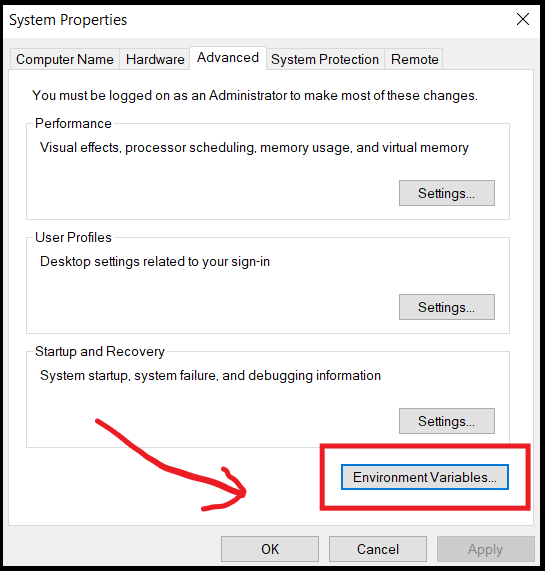
paste that path here: In the path

Now the installation of the Cuda toolkit is successfully completed. To check Cuda toolkit is correctly installed open the terminal/CMD and type and hit enter the following command. (without $ sign)
$ nvcc --versionIt should return the version of the Cuda toolkit you installed, my output is:

Step 4: Installing Anaconda and Tensorflow
A: Download Anaconda
Download the 64-bit graphical installer for python3.6 of anaconda or you can install according to your hardware(32//64) and python version (py2//py3). Click here to download anaconda
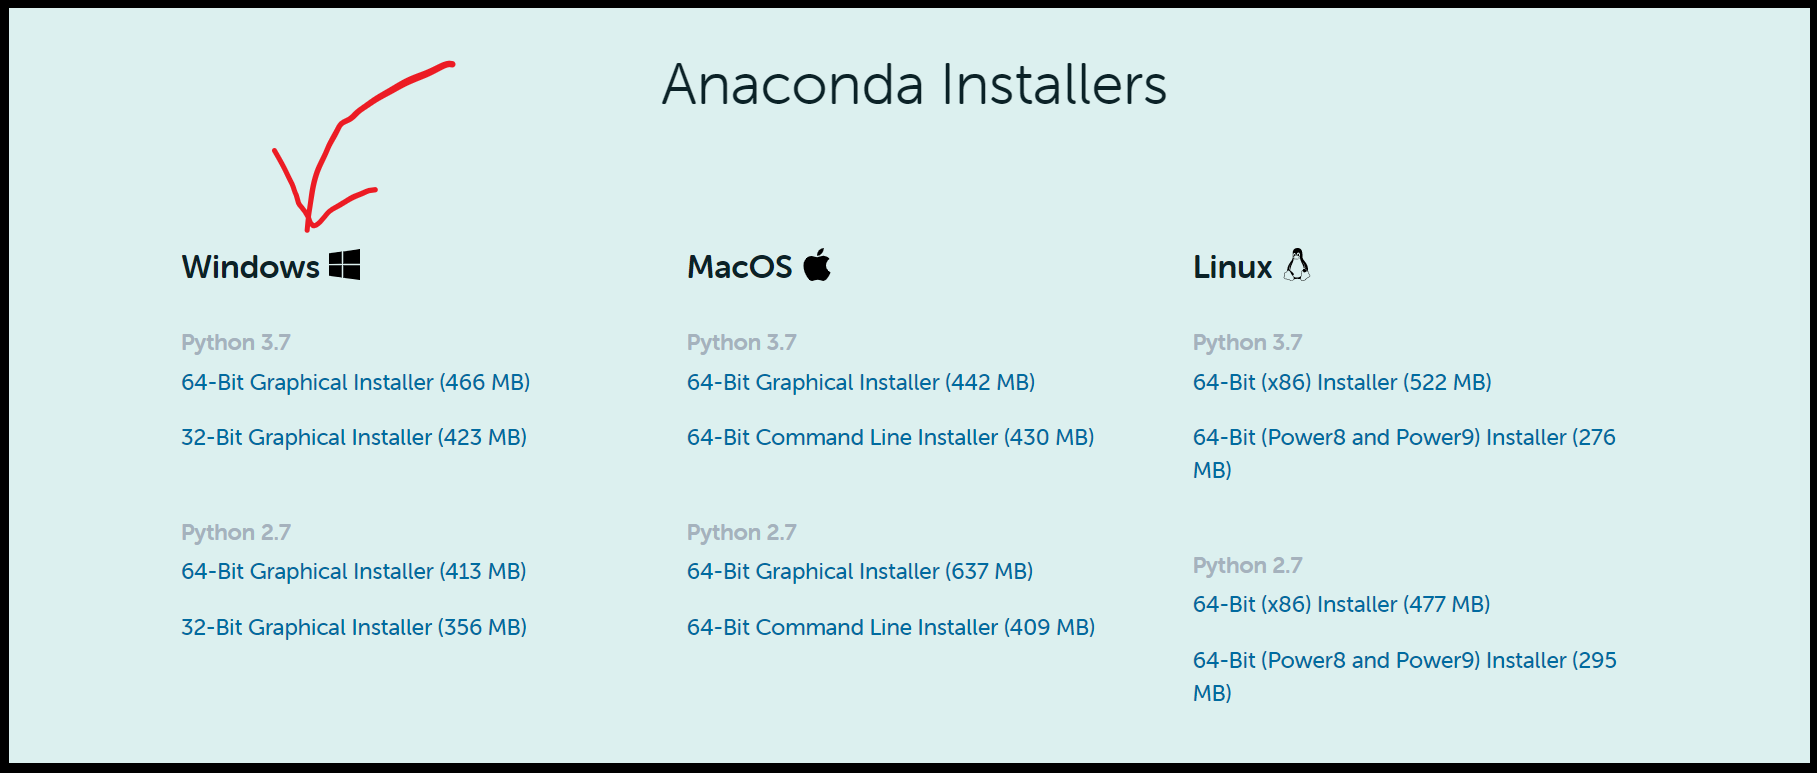
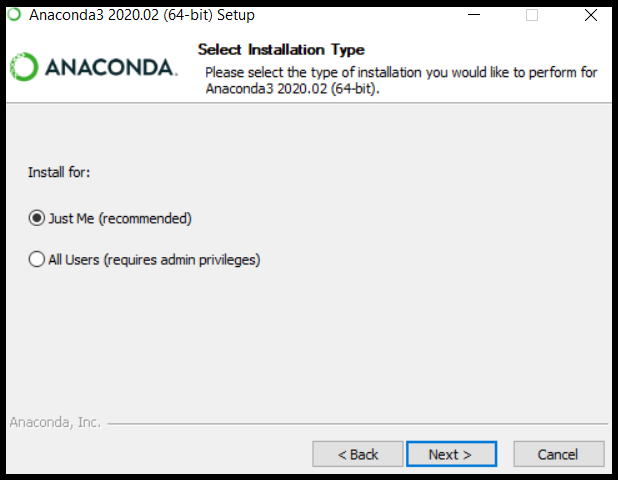
B: Install Anaconda (user only)
After downloading, run the executive file and install it for as shown in the following fig
Now to test whether the conda is correctly installed or not, open CMD hit enter with the following command it will return the version of conda installed. (without $ sign)
$ conda --versionIf everything is correctly installed so far, You can move towards the final step of the guide
C: Install TensorFlow using conda
Now we are on the final step, Open the terminal/CMD enter the following command, and hit enter. It will ask to install packages or not, Enter “y” to continue. ( conda will create a new environment with the name tf2, You can give any name here as you want but the rest of the command will remain the same ex. — name john ). It will take a few minutes to install. If installation gets interrupted in between then paste this command again and hit enter. (make sure your internet is connected). Sometimes installation may get failed because the package may break while downloading, In this situation repeat this step again until it shows as shown in below fig.
$ conda create --name tf2 tensorflow-gpu cudatoolkit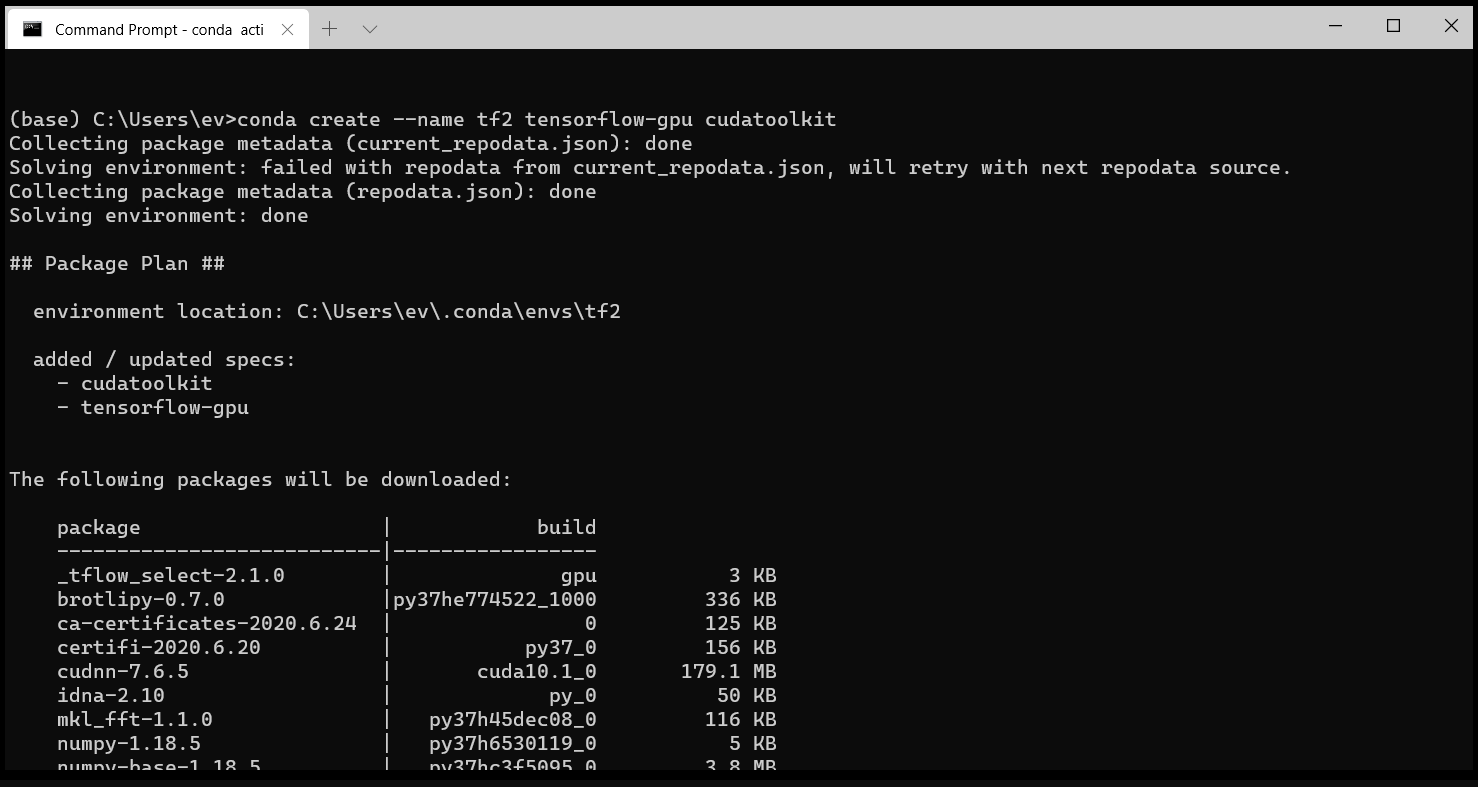
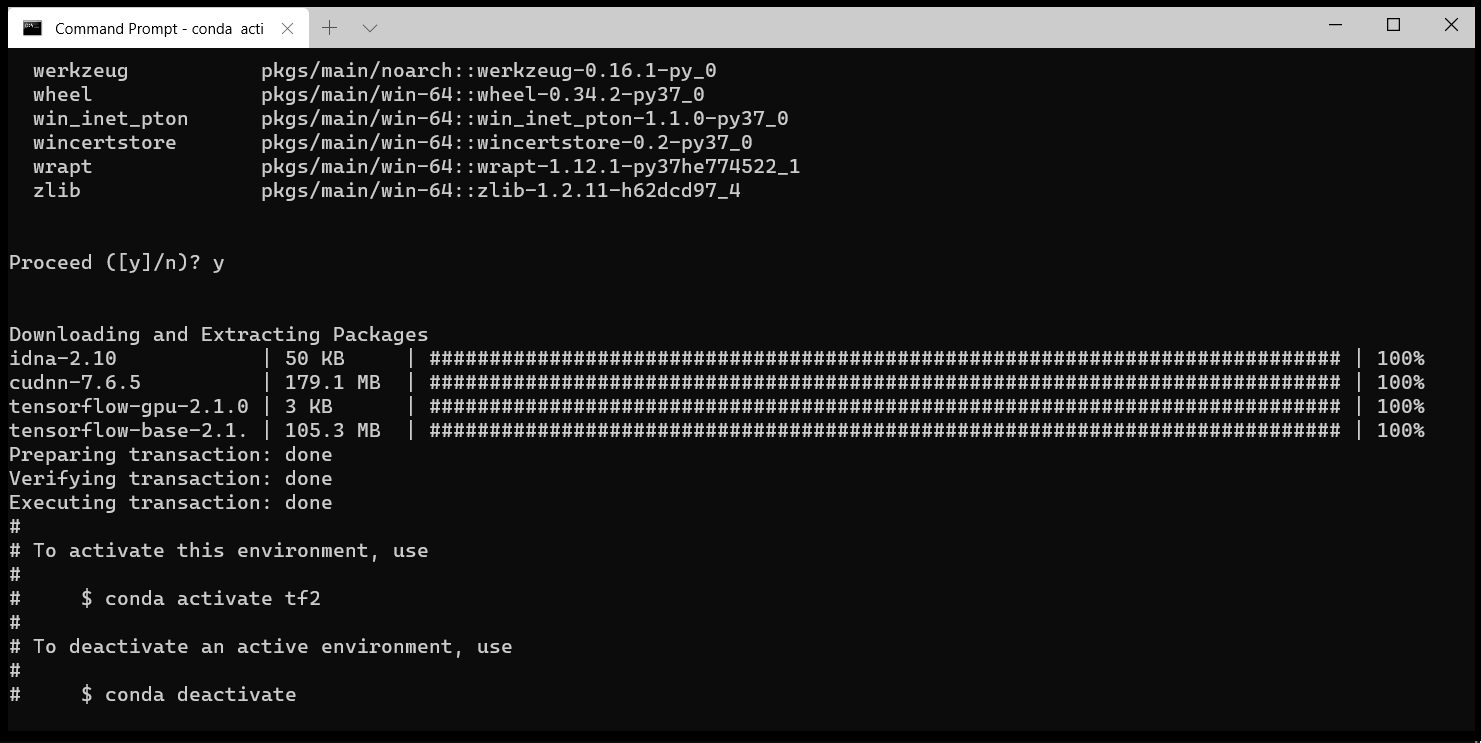
D: Test TensorFlow GPU
Now close all CMD and open new CMD. Type the following command and hit enter. It will activate the environment with the name tf2 create before. (without $ sign)
$ conda activate tf2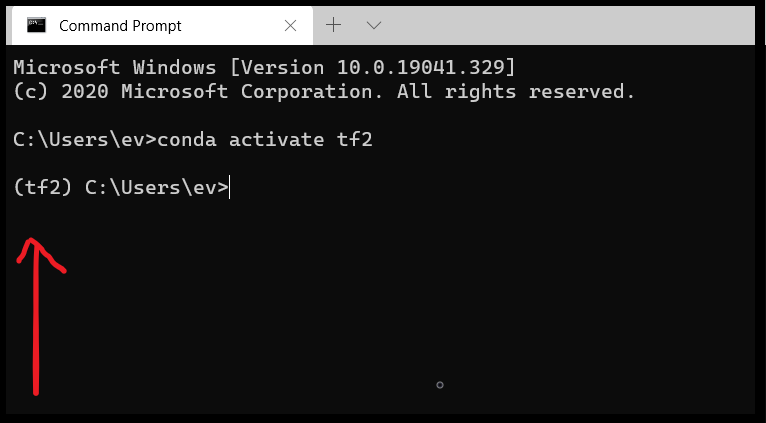
Now run python in CMD, python shell\interpreter will open.
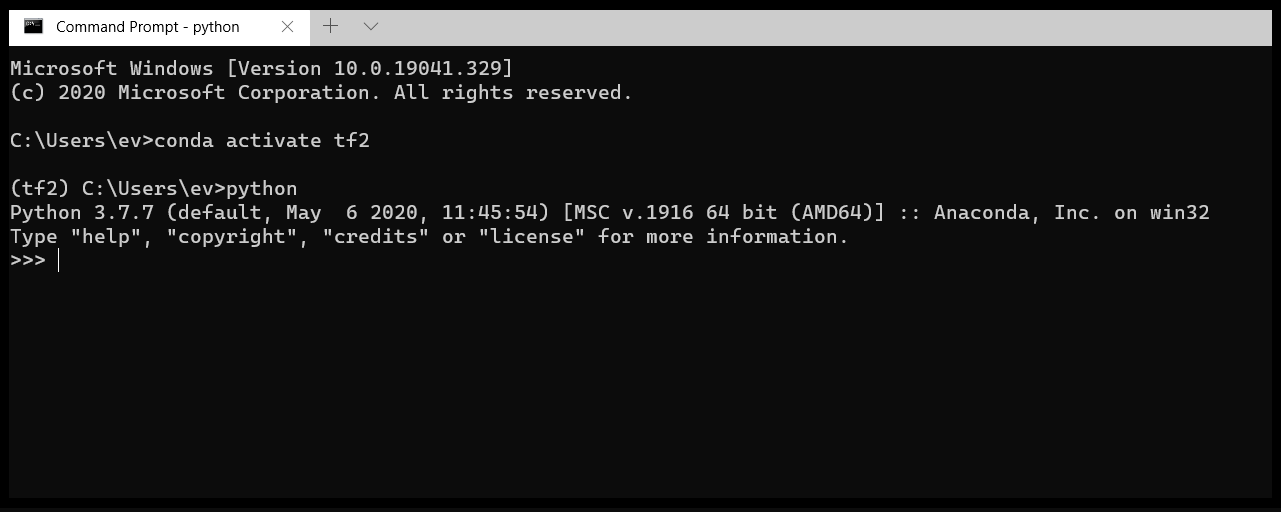
In python shell, run
$ import tesorflow as tf
while importing TensorFlow if it shows the following error then reboot the pc and try again from step (D: Tensorflw testing)

The last and final step is to run the following command:
It should return “true”
$ tf.test.is_gpu_available()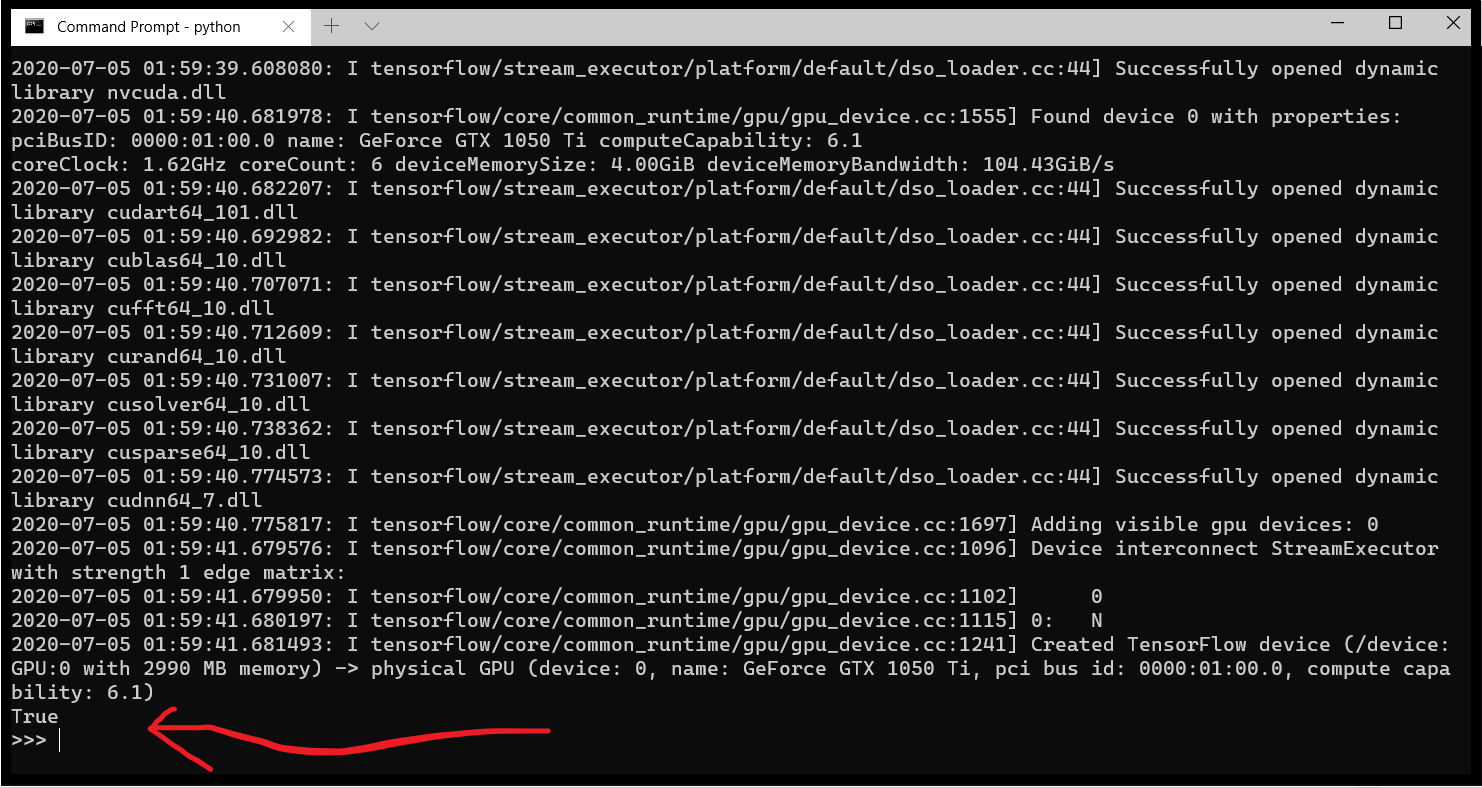
Thank you!!!!!!!!